Know the Working Process of Pro Plus Tool
Follow the simple steps which will guide the user to understand the working process of the tool with below Screenshots.
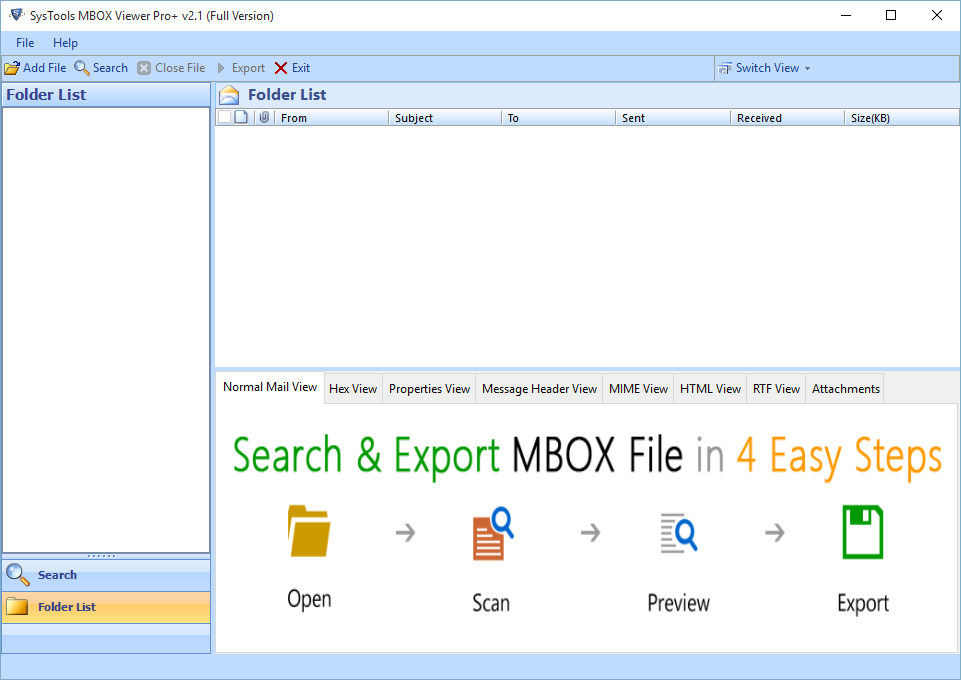
Step 1
Go to: Start » All Programs » SysTools MBOX Viewer Pro+ and launch the software.
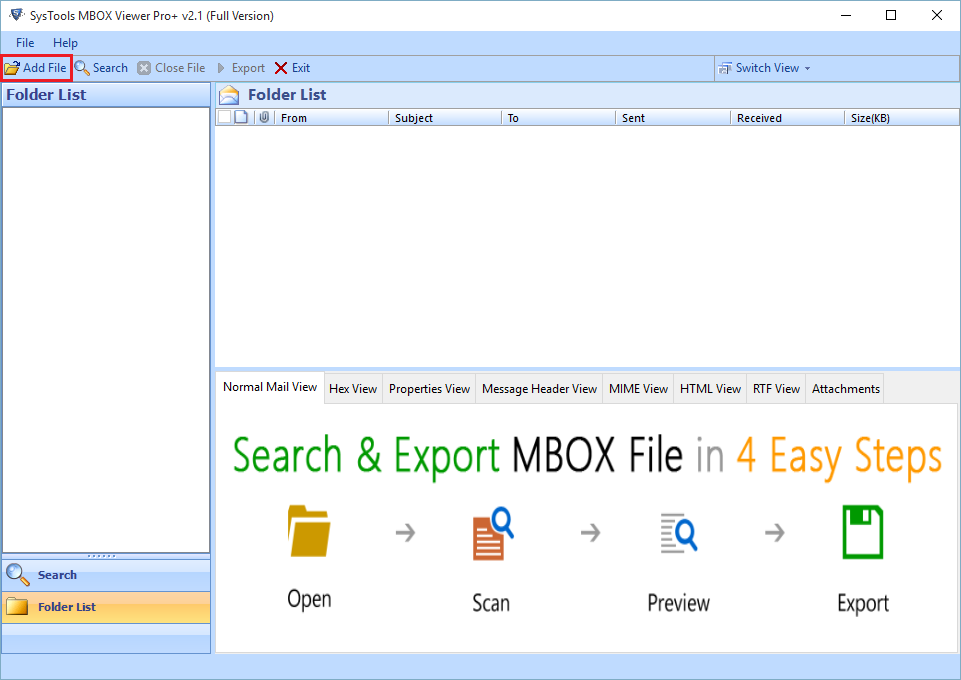
Step 2
Click on Add File to start adding .mbox file to the application.
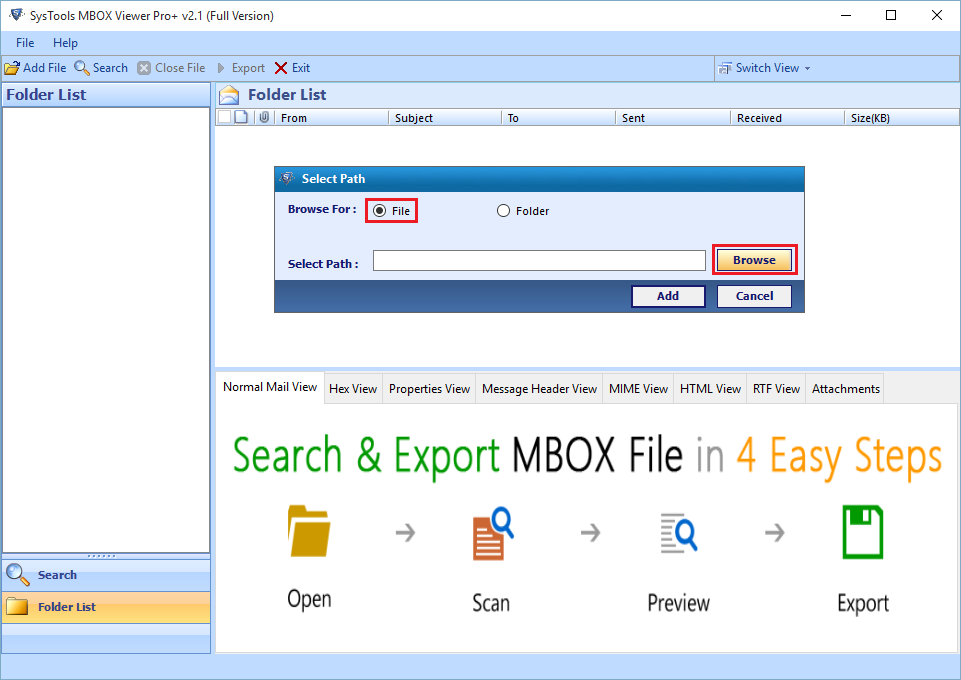
Step 3
Click the File button to select a single .mbox file. Click on Browse button to begin:
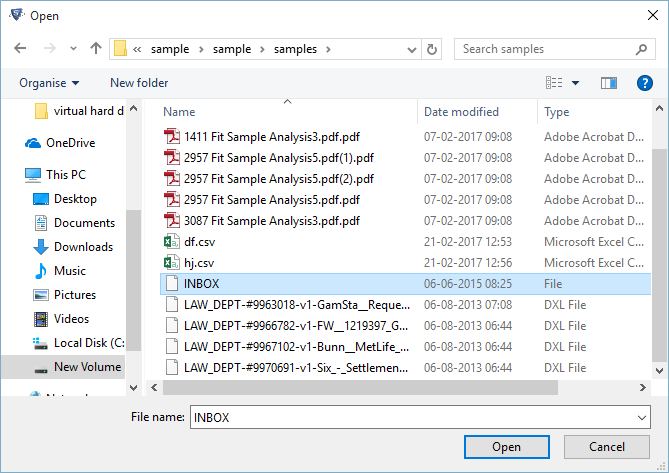
Step 4
Select the .mbox file & click Open.
Step 5
Select the Folder button to add multiple .mbox files at once.
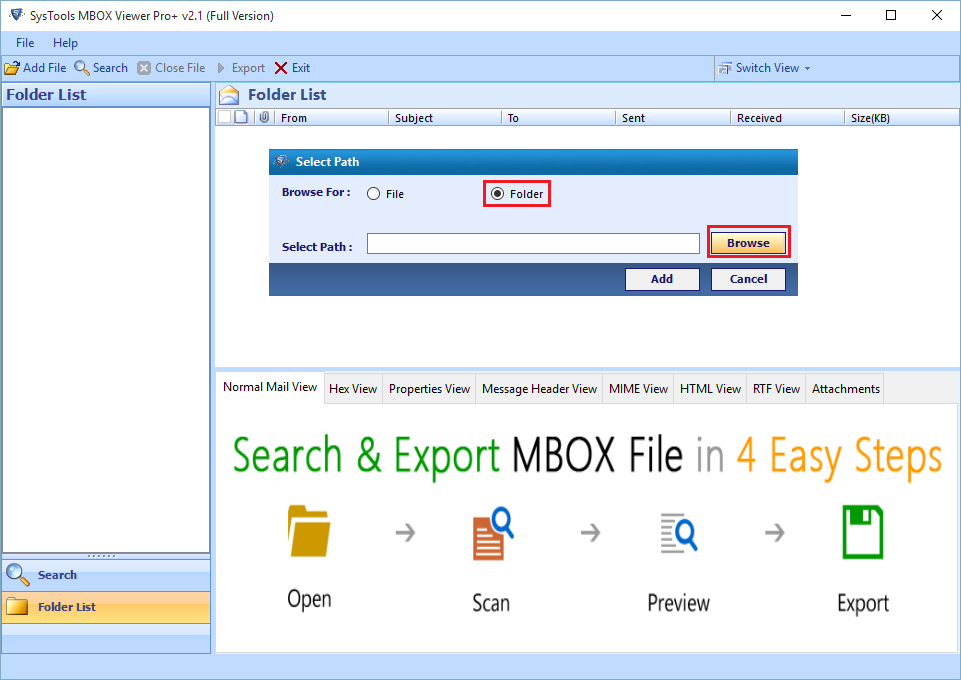
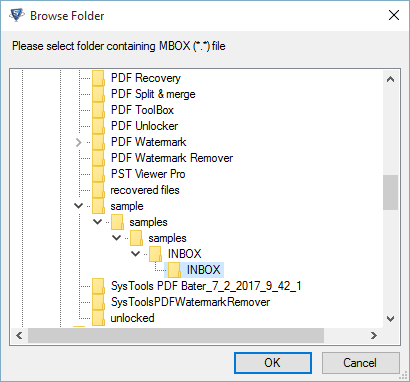
Step 6
Select the folder of .mbox files & click on OK.
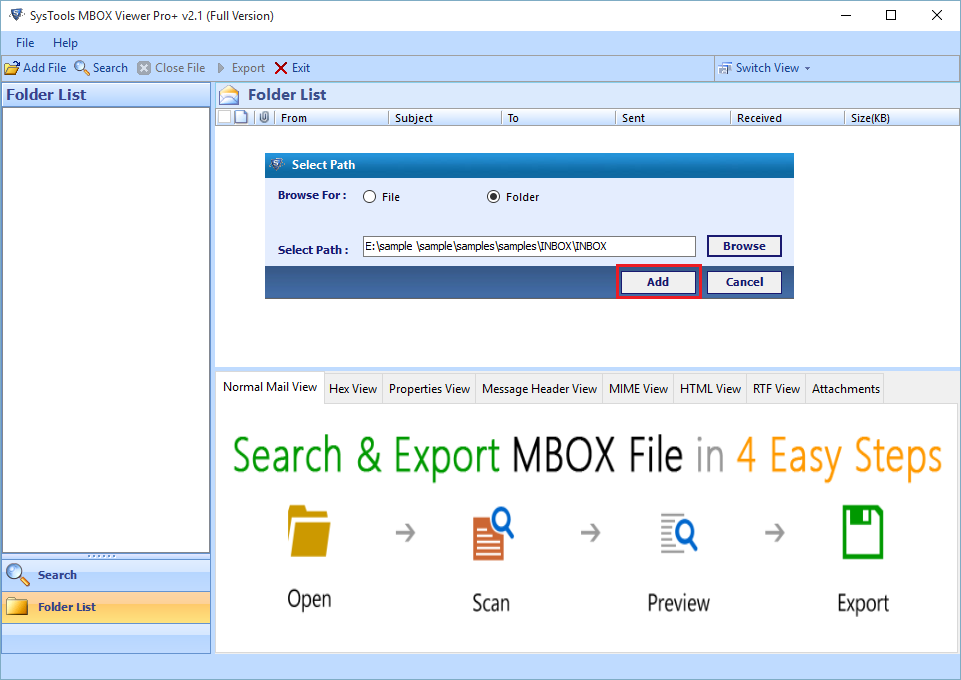
Step 7
Click on Add button after selection of file/folder for loading.
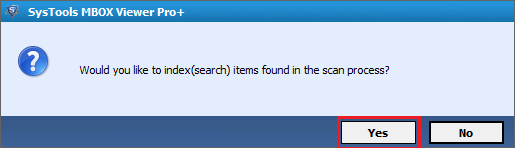
Step 8
Indexing process during file scanning is recommended to search the emails. Click Yes to index the files.
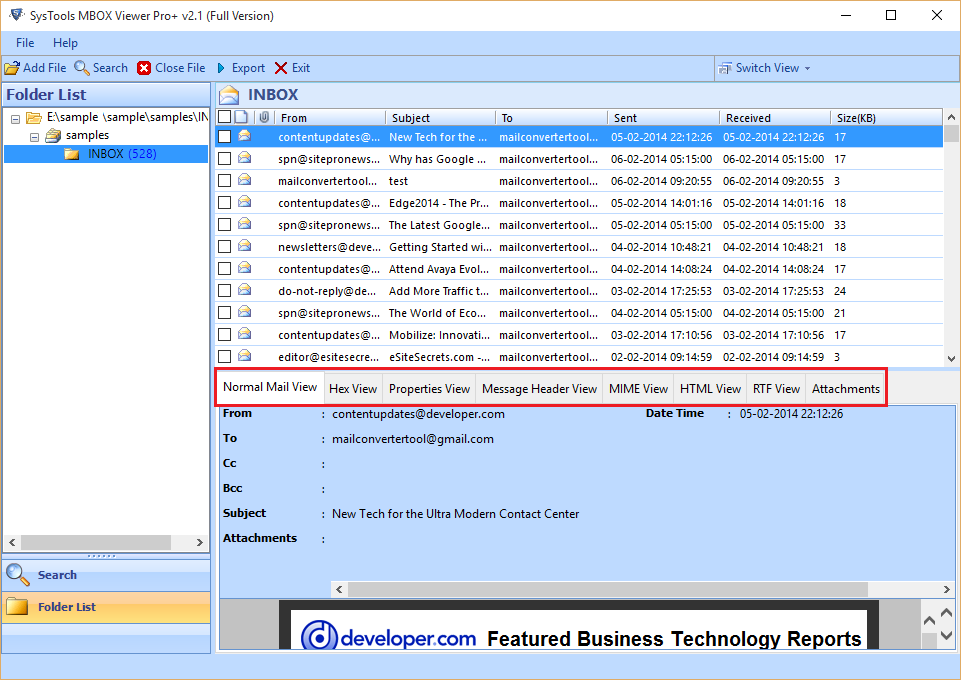
Step 9
View MBOX Emails
After complete scanning, software loads the entire MBOX emails. You can view emails in different views such as Normal View, Hex View, Properties View, Message Header View, MIME View, HTML View, RTF View & Attachments.
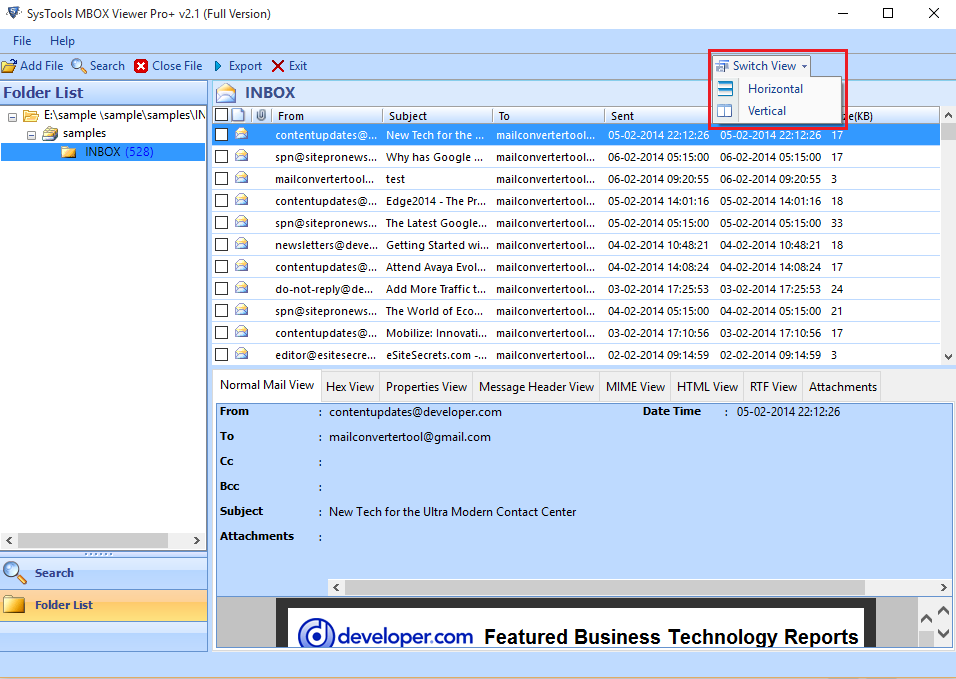
Step 10
A switch screen view option is provided to change the preview panel view from Horizontal to Vertical & Vice Versa as per the requirement.
Step 11
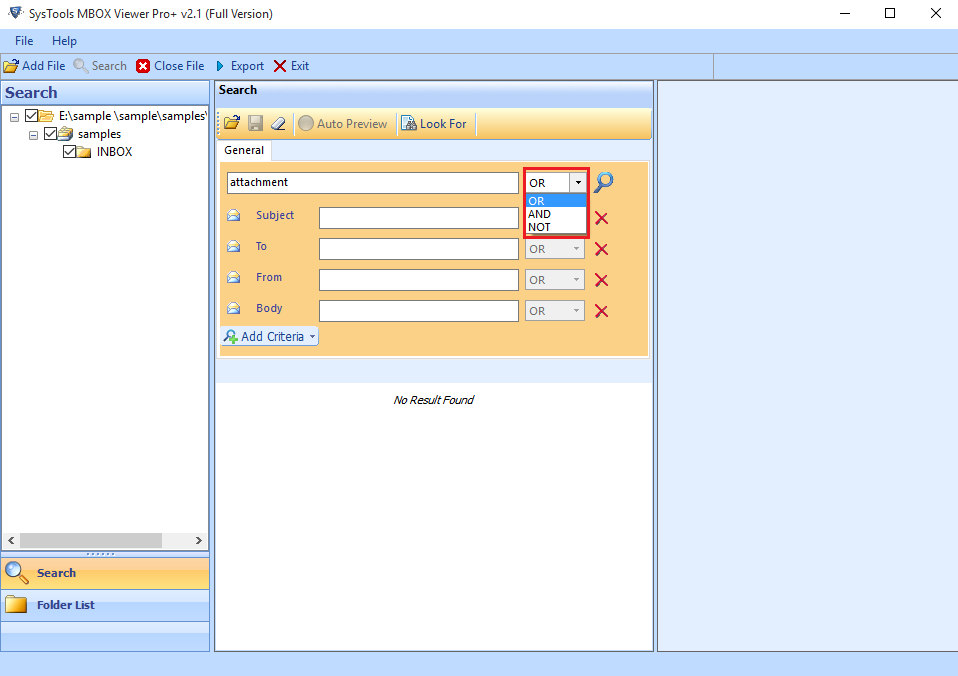
Add filters like To, Cc, Bcc etc., to search for a specific email.
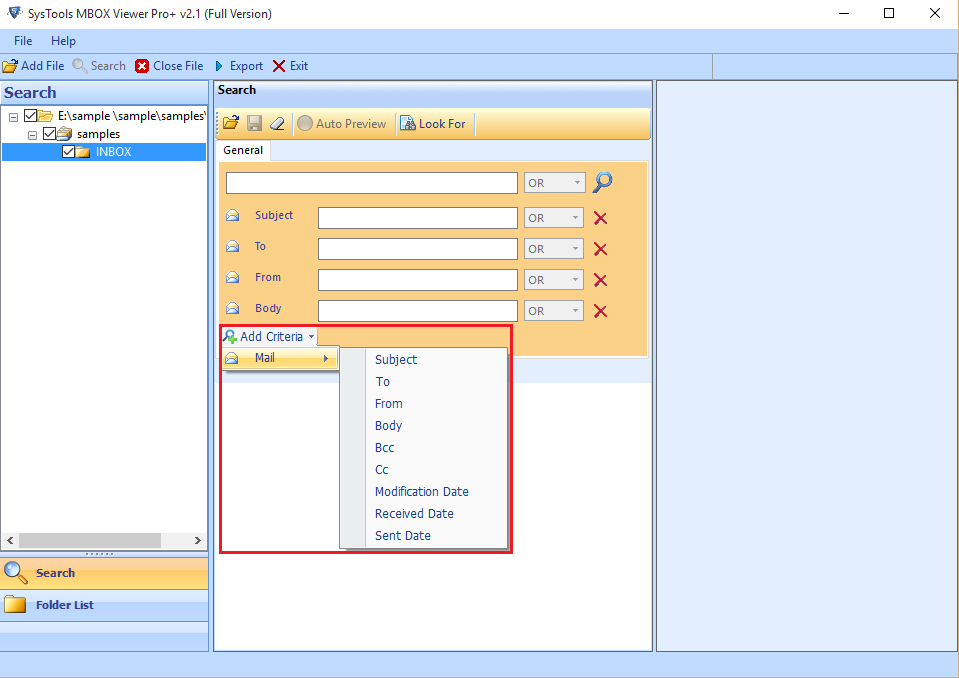
Step 12
Use advanced logical operators to define your search query, i.e. AND, OR & NONE:
OR: Select this operator if you are unsure as to which parameter to look for and the software looks for both the parameters and provides results for whichever is found.
AND : This parameter ensures that two collective parameters are present within an email.
NONE : Upon selection of the NONE operator, software disables the applied operators consecutively on the other parameters.
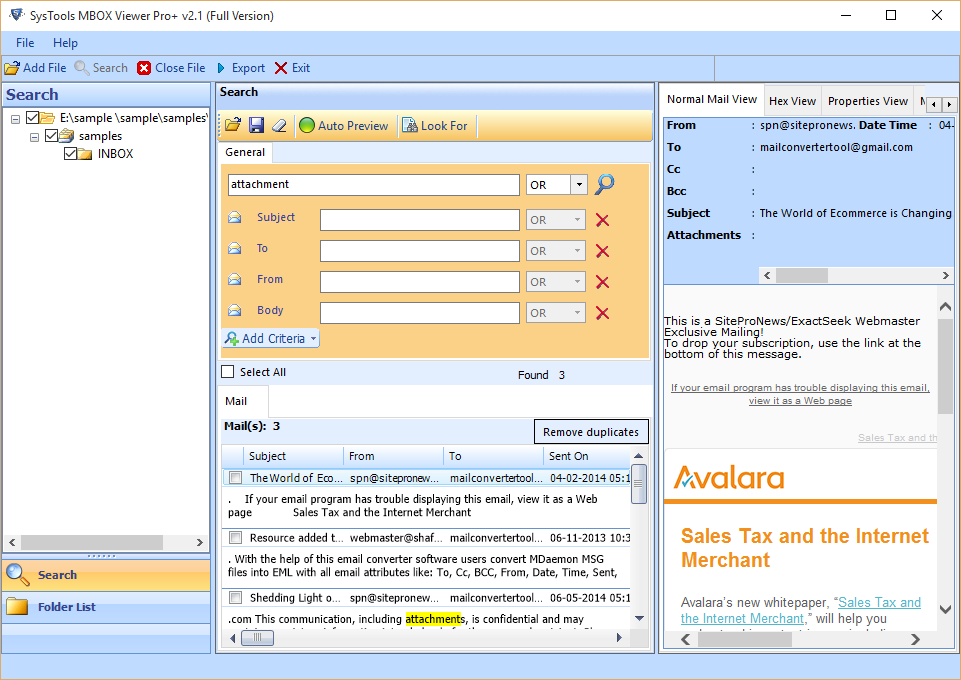
Step 13
Select the emails from the search results to preview it on the right side panel.
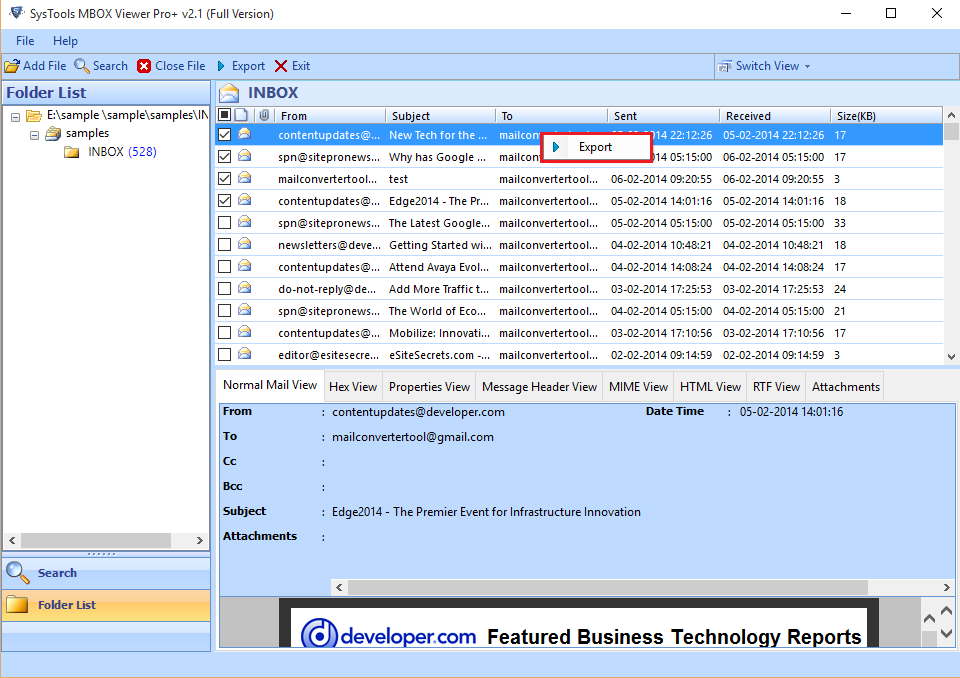
Step 14
To export selected emails, select the checkboxes, right click on them and select Export.
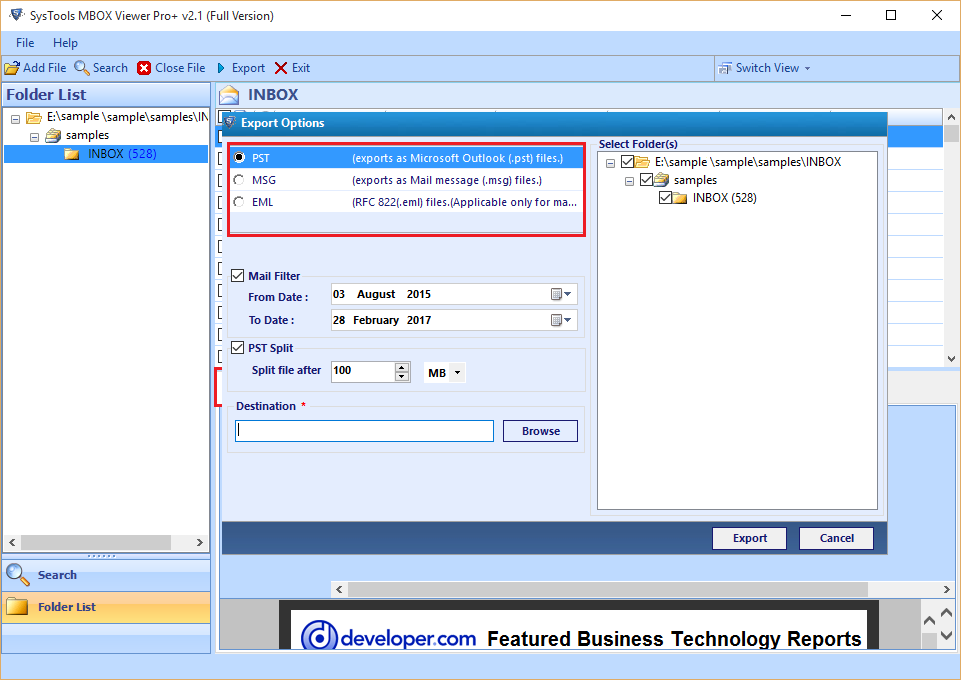
Step 15
Select the required options provided in the Export window, to customize the process according to the need.
Step 16
You can click on the Export button from the Menu bar to export the entire MBOX file.

Step 17
Select the MBOX folder to export from the Select Folder(s) Pane:
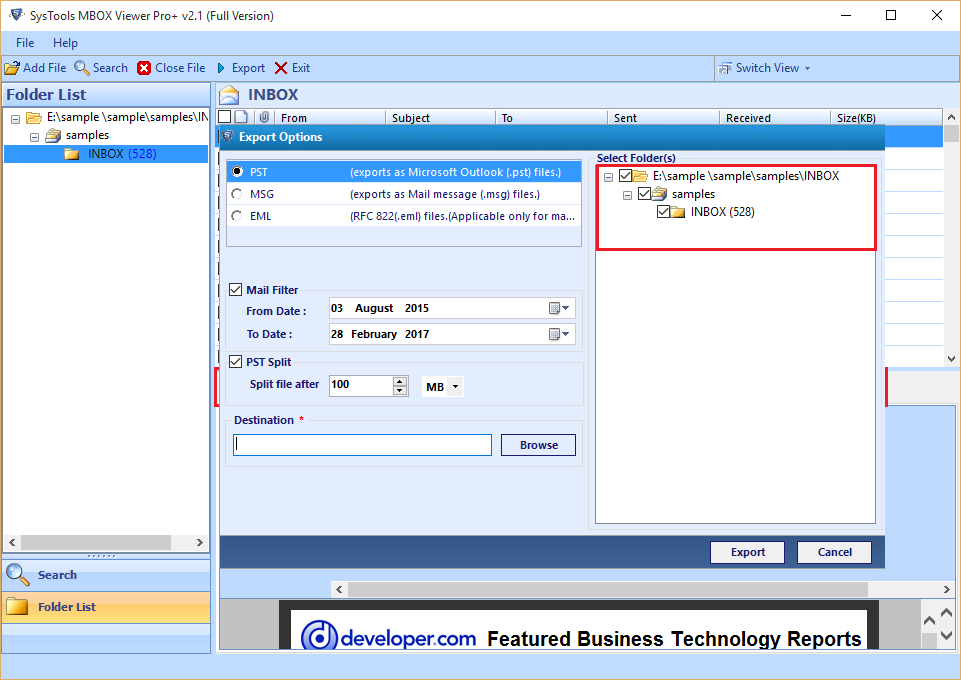
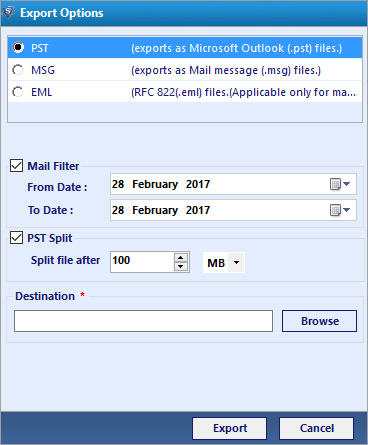
Step 18
The following export window will appear by clicking on the above Export button.
Here you can choose the appropriate file export file type PST, MSG, EML & PDF, filter mail and also define a size to split PST file.
Step 19
On selecting MSG, PDF or EML to export the MBOX file, Naming Convention option will automatically enable.
(Naming Convention: Applicable only for Mails)
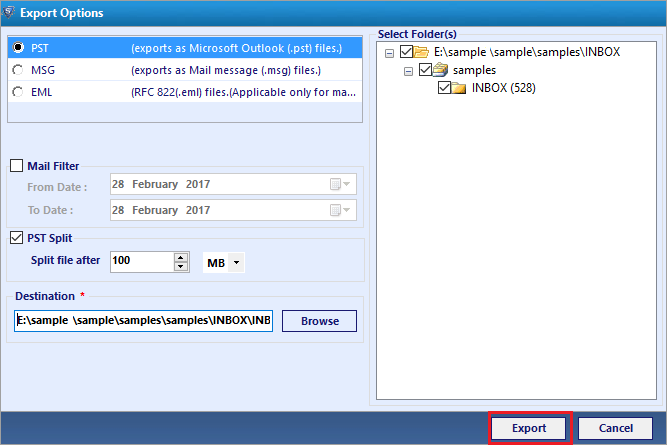
Step 20
After browsing the destination location, click "Export" button to initiate the process
Step 21
Exporting process begins after selection of Export button:
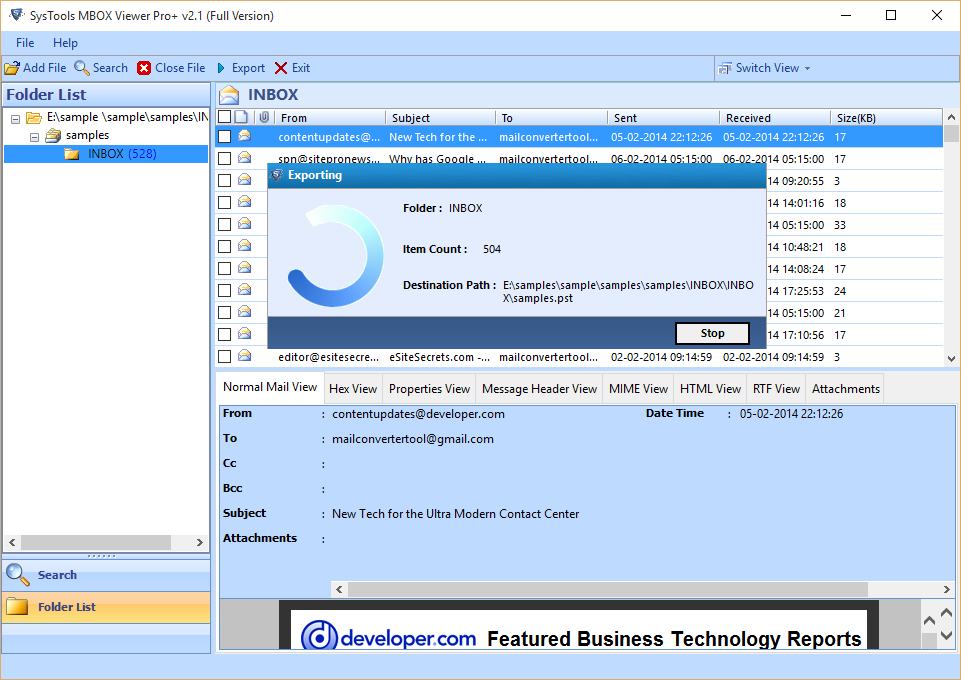
Step 22
After the completion of Export process an alert message stating "Export Completed Successfully" will appear. Click OK
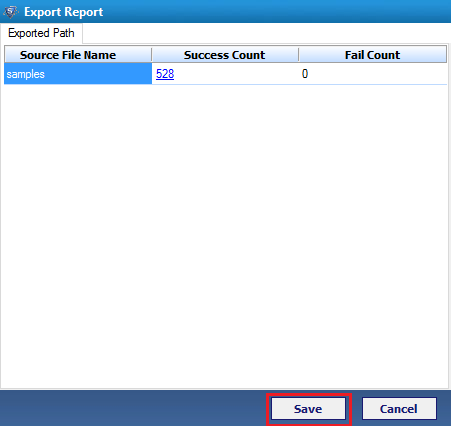
Step 23
Upon the completion of Export process, an export report is generated. Click on Save to save the report in CSV file type.
Step 24
Once the prompt – "Export Report saved successfully at given path" is received, click OK.
Step 25
Go to the location where you have saved the PST file on your machine during the conversion process.
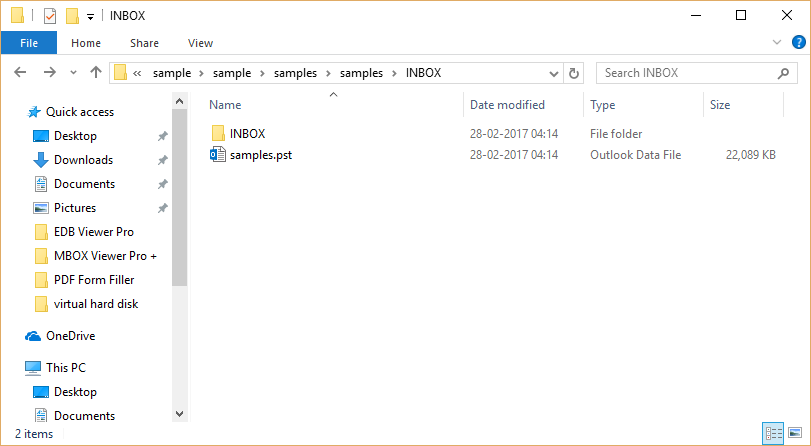
Step 26
You can observe that the emails got saved in a PDF file type and the name of the emails are saved by subject of email as the default naming convention is "Subject" as mentioned earlier.
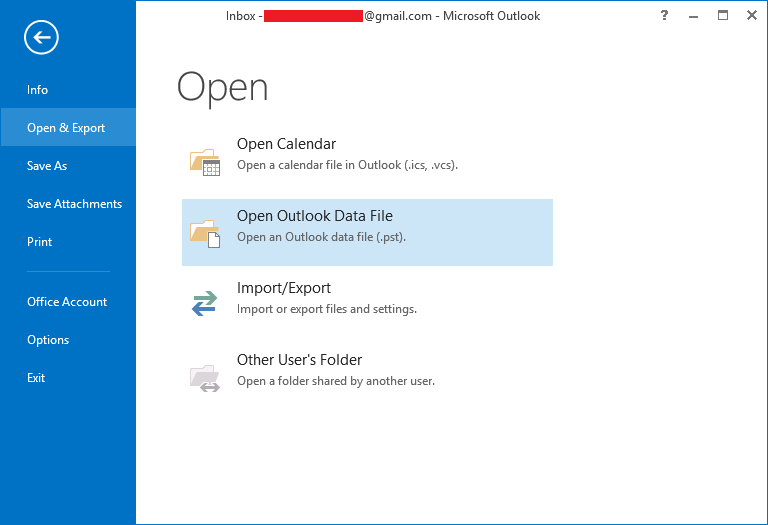
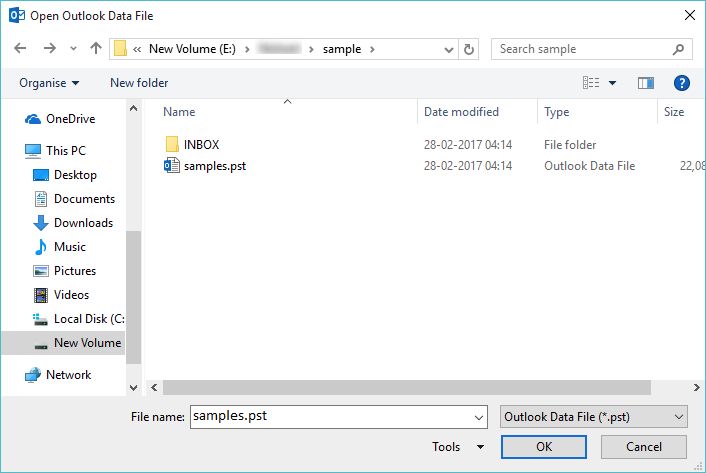
Step 27
Select the PST file to open in MS Outlook®. Click OK:
Step 28
You can also preview the PST file in MS Outlook.