How to Export and Import PST File in Outlook
If you want to export and import PST file in Outlook 2019,2016,2013, 2010, then don’t panic because the wait is over. You came into the right place and your search has now come to an end. We are going to give you the most relevant solution by which people can export and import the PST file in Outlook in the given steps.
In this blog, we will discuss how to export and import PST file in Outlook such that users can easily understand the technique. These steps are applicable for Outlook 2010, 2013, 2016, 2019.
Microsoft Outlook
- Desktop email client
- One email client for Windows
- Configure email account such as Gmail, Yahoo, etc.
- It is a Personal Information Manager
- Works as a Personal Organizer
- Outlook provides us two data files, those are OST and PST. Working of both the data files are different from each other
How to Export and Import PST file in Outlook- Quick method
We have divided the blog into two different sections:
- Importing PST file in Outlook
- Exporting PST file in Outlook
These methods are elaborated in the below section.
Steps for importing PST File in Outlook
Step 1: Firstly, Open outlook in your system.
Step 2: In your menu bar, click on “File”.
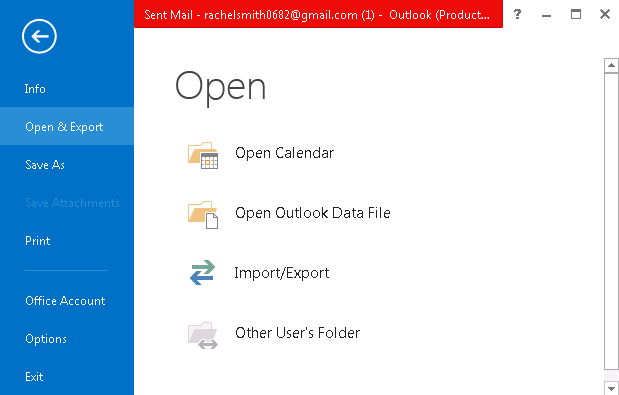
Step 3: Select “Open & Export option”.

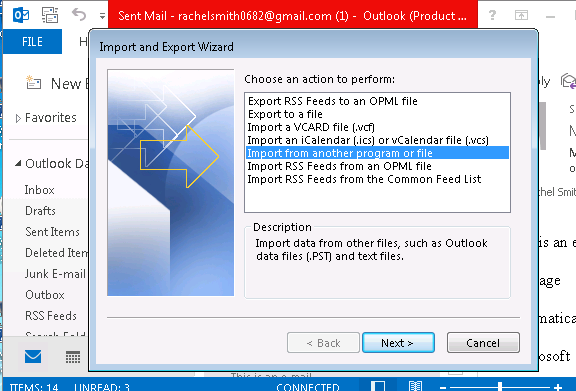
Step 4:After clicking on “Import and Export Wizard”, then click on “Import from another program file” and go for the “Next” button.
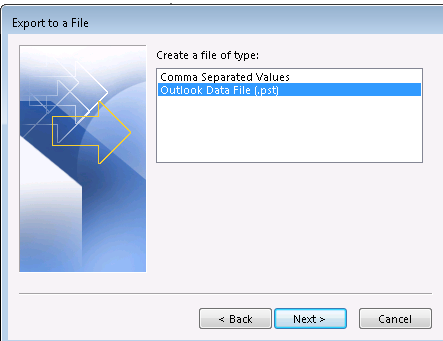
Step 5: Now, click on “Outlook Data File.PST”, and click “Next” for the next step.
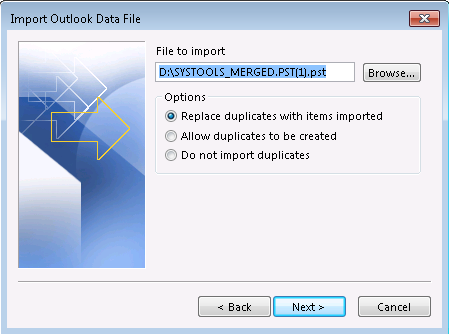
Step 6: Click on the “Browse” option, and choose the PST file from the system, and then click on “Next”.
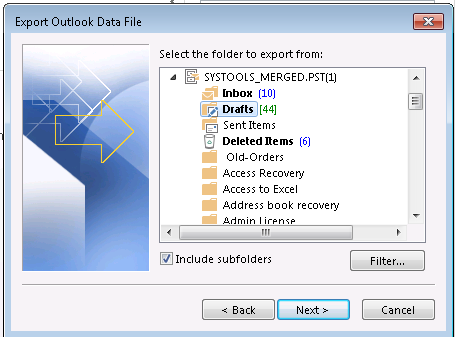
Step 7: Choose the “Include subfolders" checkbox and select "Import items into the folder”, then click on “Finish”.
Using these steps all your PST emails are now successfully imported in Outlook.
Steps for Exporting PST File in Outlook
Step 1: Open Outlook and select “File”.
Step 2: Select “Open & Export” >> “Import/Export”.
Step 3: Select “Import and Export Wizard” option, and go to the “Export to a file” and choose “Next”.
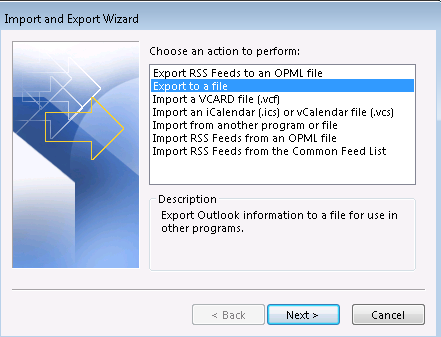
Step 4: Now choose “Export to a File”, and select the “Outlook Data File.PST” and click on “Next”.
Step 5: Select the email account in Outlook that you wish to export to PST and click on “Next”.
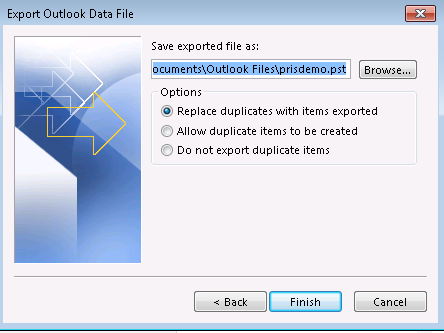
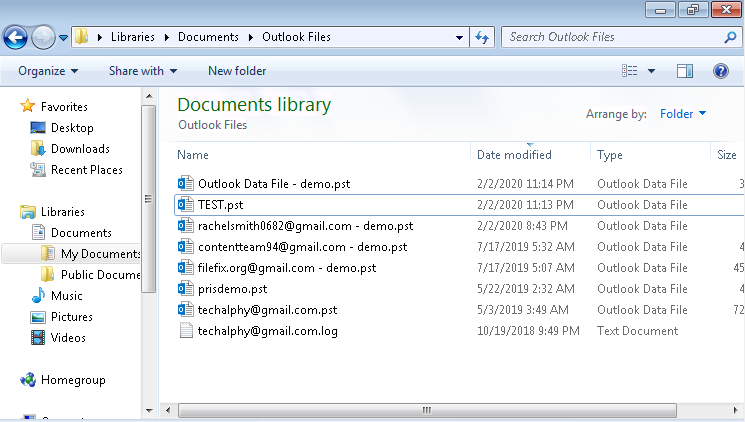
Step 6: “Browse” the location to save the PST file, and select “Replace duplicates with items exported” And click on “Finish”.
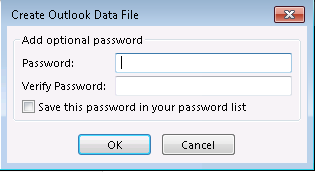
Step 7: Optional setting to encrypt the created PST file will be shown. Either you can save the password or “Cancel” to skip this step.
Step 8: File is exported successfully.
Conclusion
Microsoft Outlook provides a native option to import and export data items. This import/export tool is a helpful way to transfer data from and into Outlook. This blog is an effective means to know how to export and import PST file in Outlook using the native Outlook tool. It is a penultimate way to manage and backup your PST files in Outlook 2010, 2013, 2016, 2019.