Step-by-step Product Guide of Pro Tool
Follow the simple steps with Screenshots which will guide you through the complete working process of the MBOX Reader tool.
Step 1
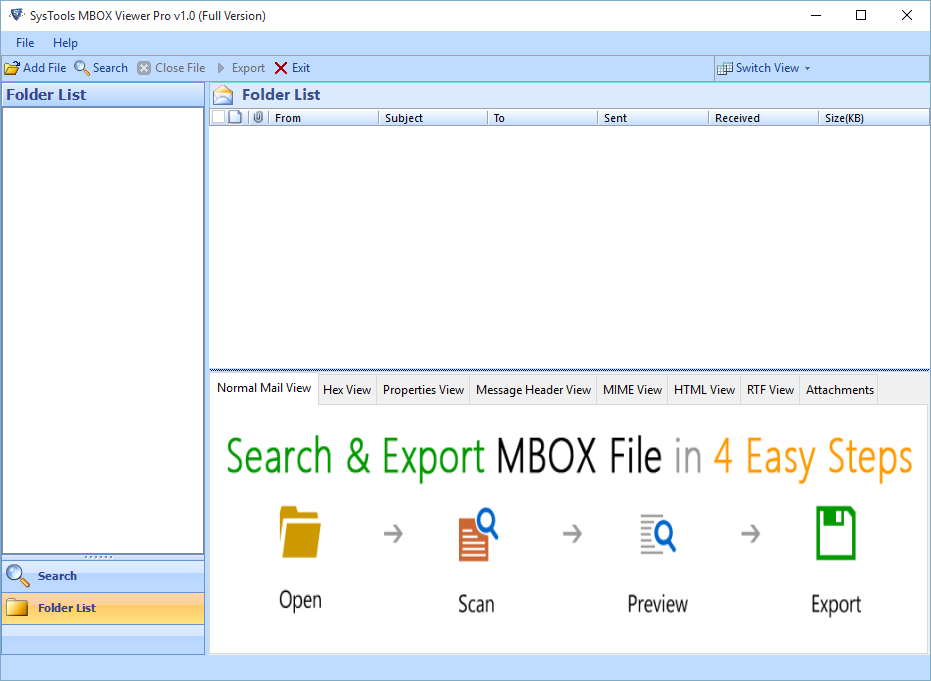
Launch SysTools MBOX Viewer Pro from the installed location or Go to Start » All Programs » SysTools MBOX Viewer Pro to launch the software.
Step 2
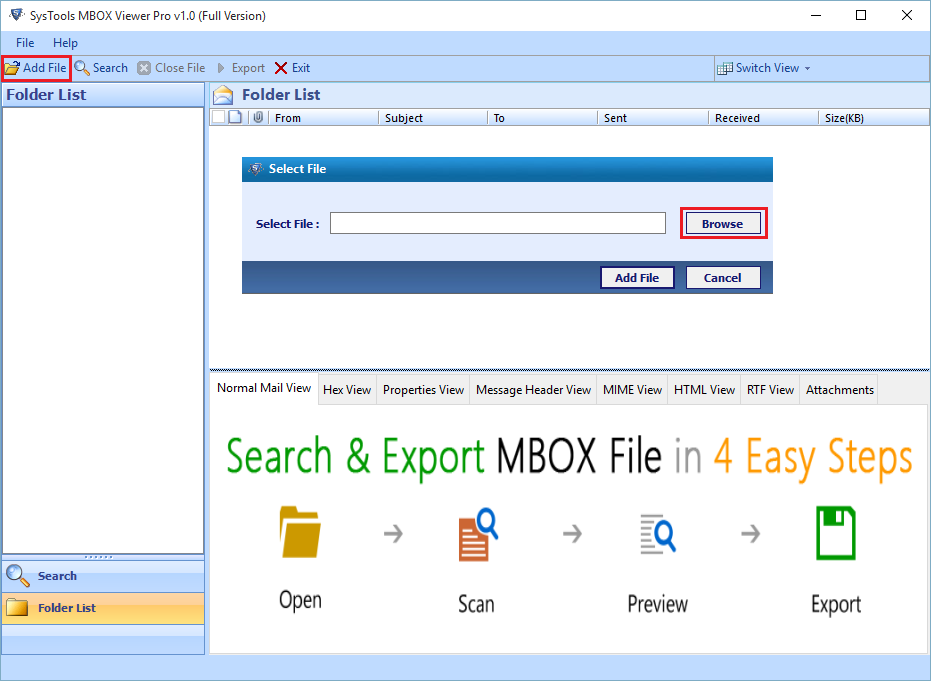
Click Add File to start the process of adding .Mbox file in application. Select the Browse button to find the MBOX file from machine.
Step 3
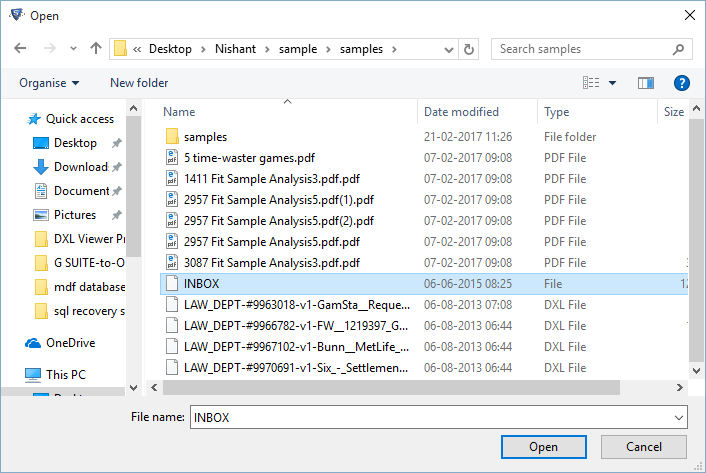
Now choose the required MBOX File & click on Open button.
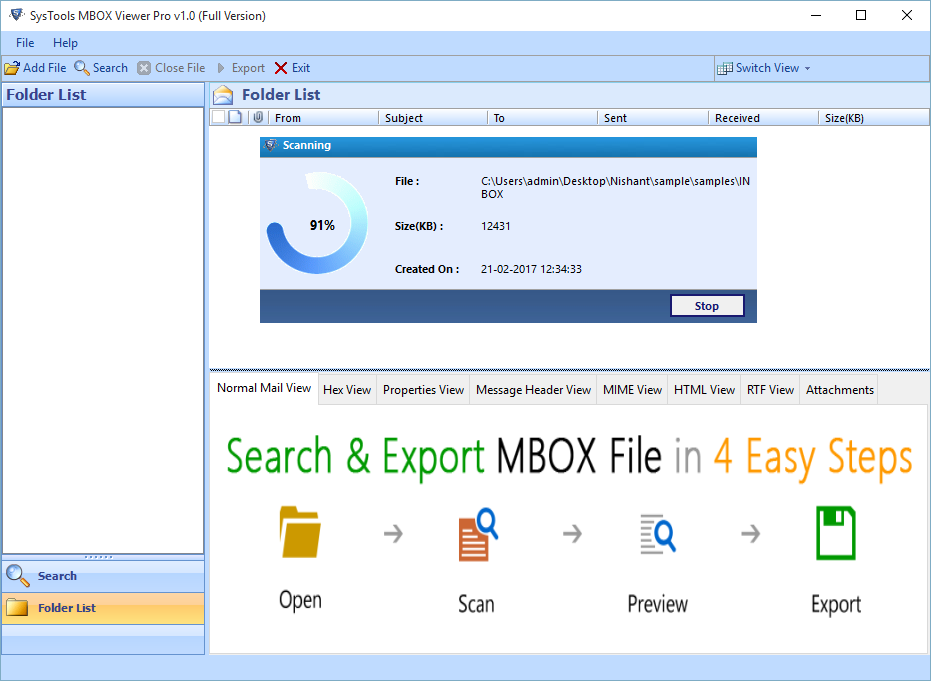
Step 4
Scanning process gets initiated with proper details such as; file location, size and time stamp.
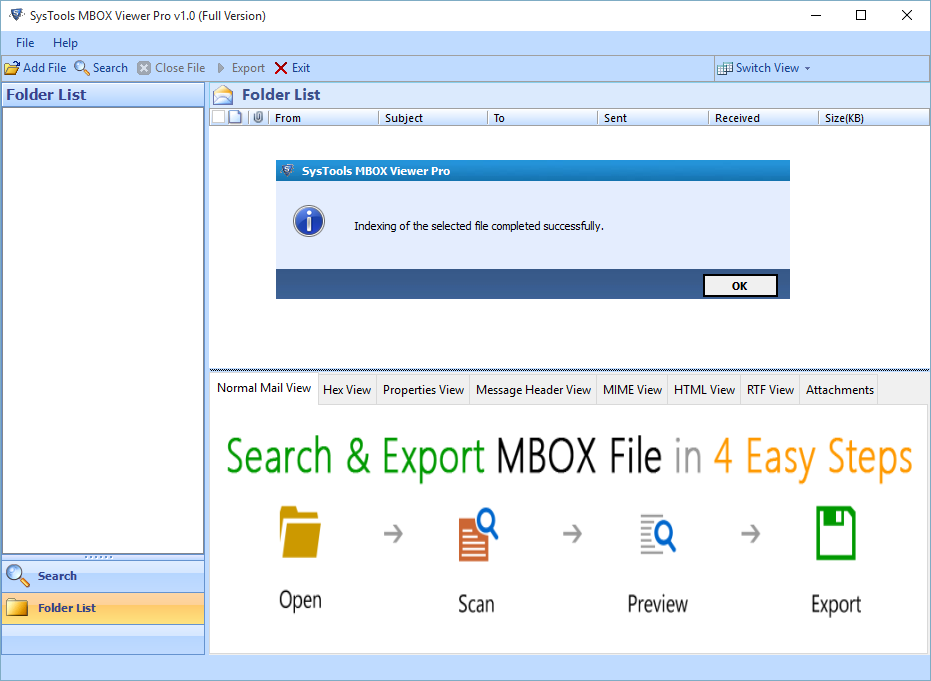
Step 5
Once scanning is completed successfully click OK to proceed further.
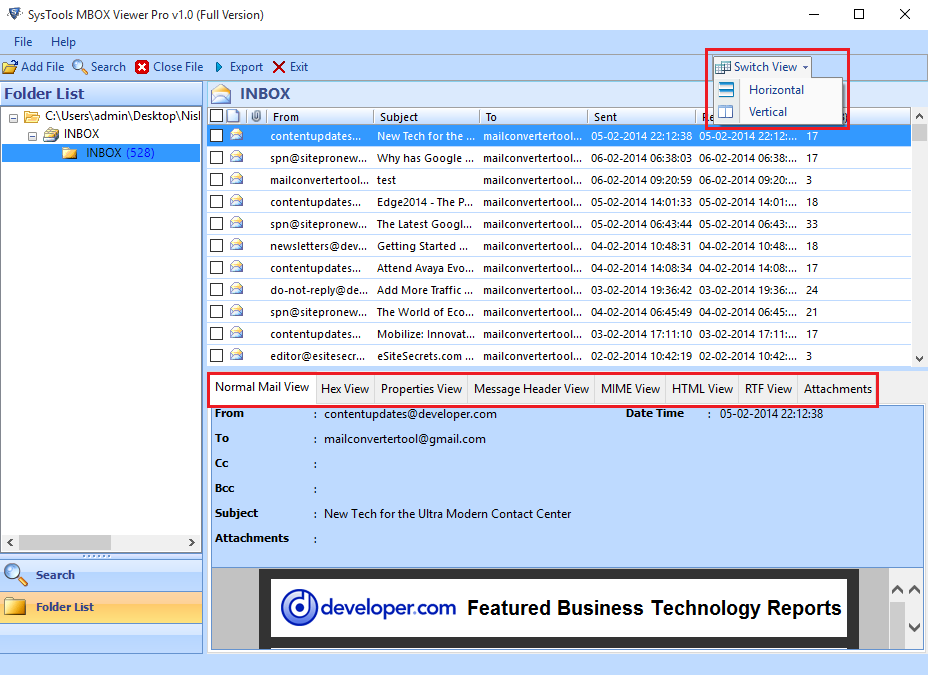
Step 6
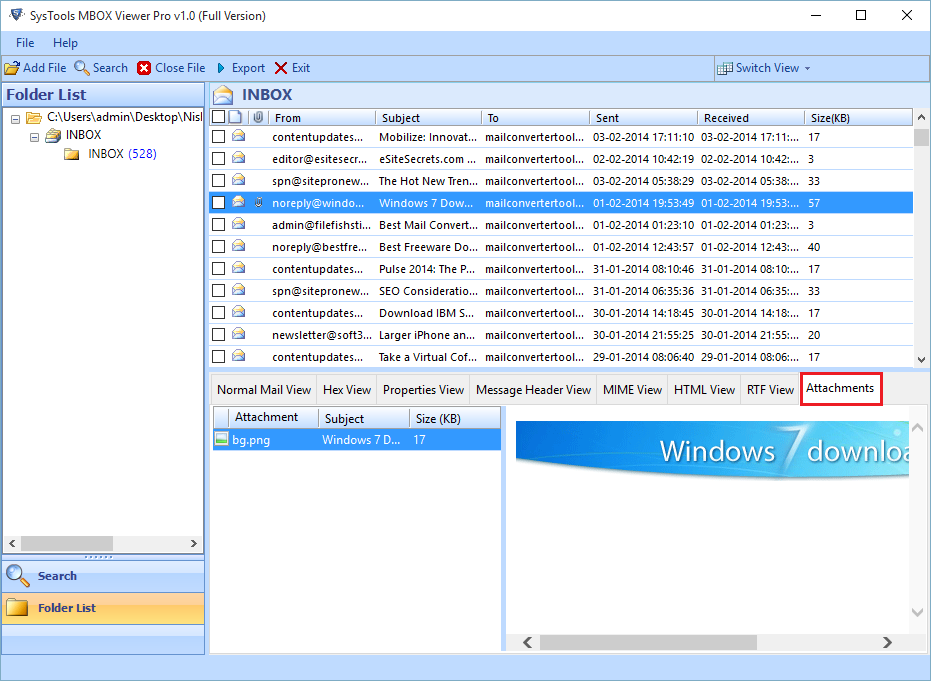
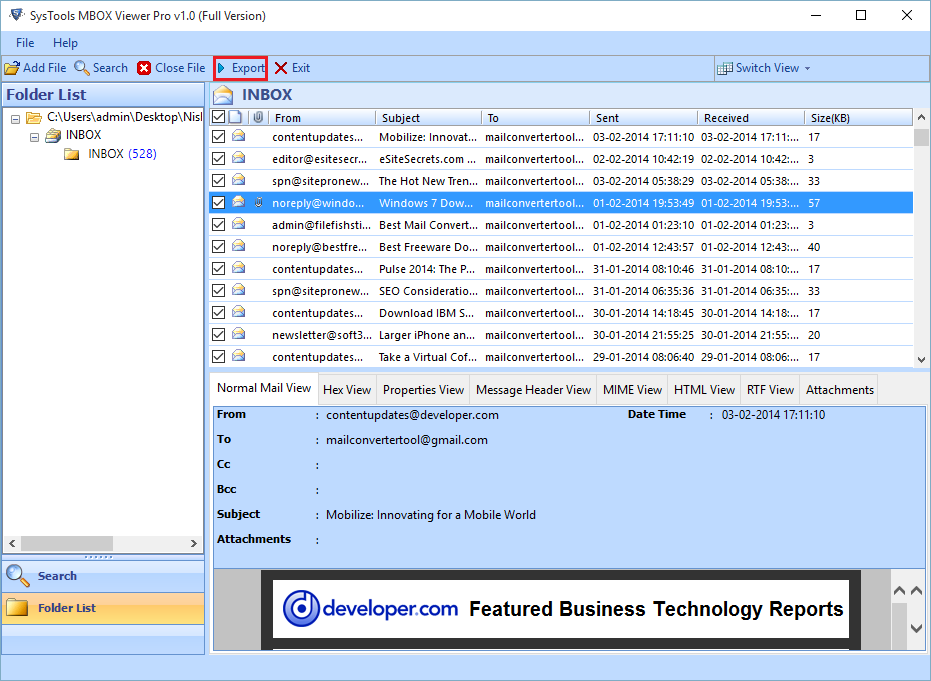
After software loads the MBOX file Items, select items that you want to view in the display pane with multiple view options such as Normal,Hex,Properties,Message Header View, MIME View, RTF and Attachments View respectively. You can make use of the Switch View options from Horizontal to Vertical View to ease out message preview experience as per convenience
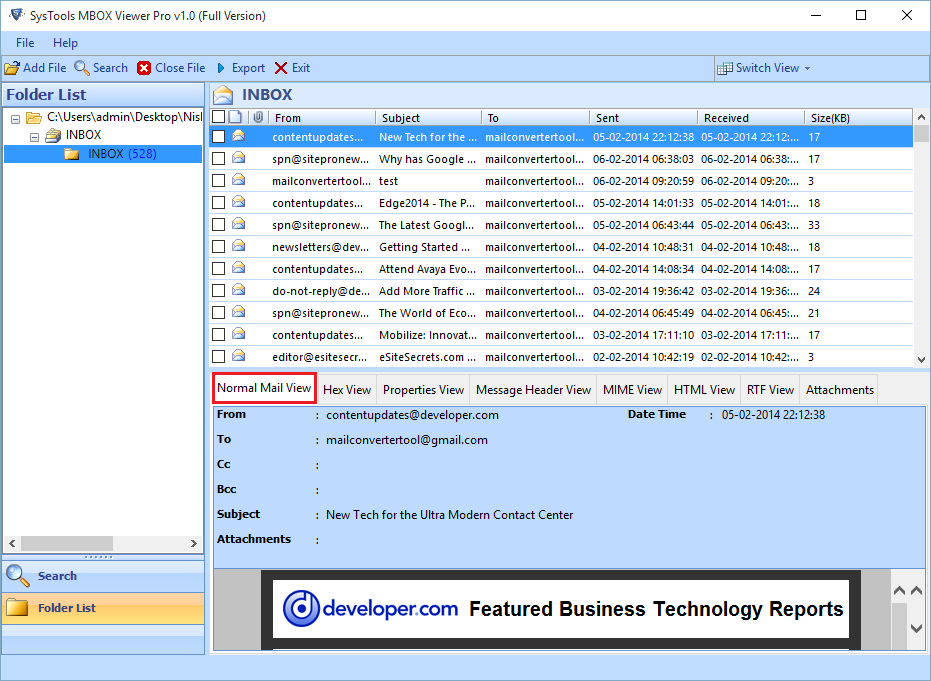
Step 7
Normal Mail View displays the message content in a usual way , including basic message details.
Step 8
Preview attachments included in the email message using the Attachment View tab.
Step 9
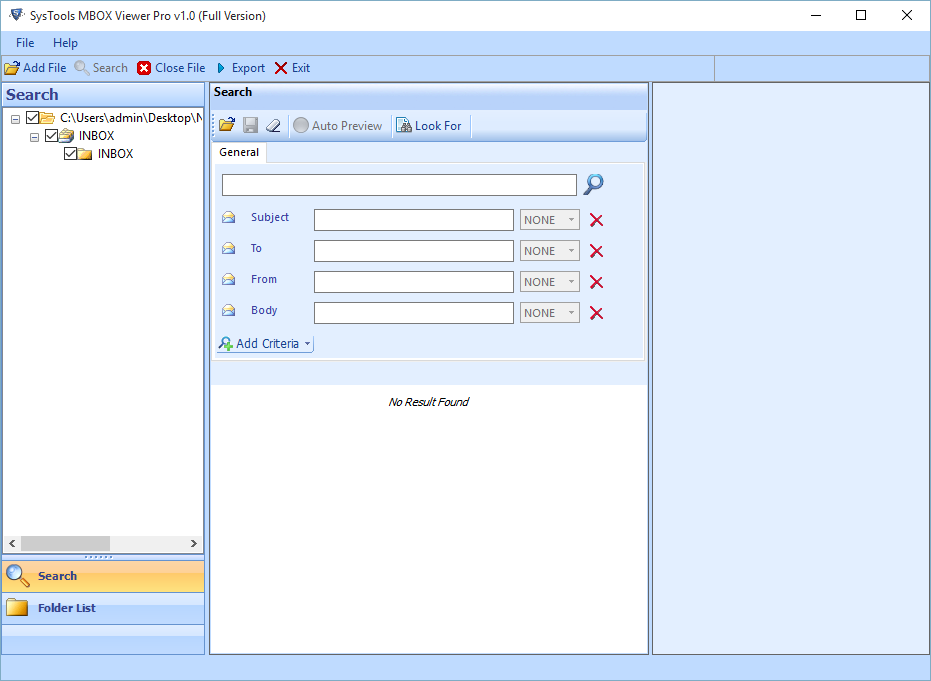
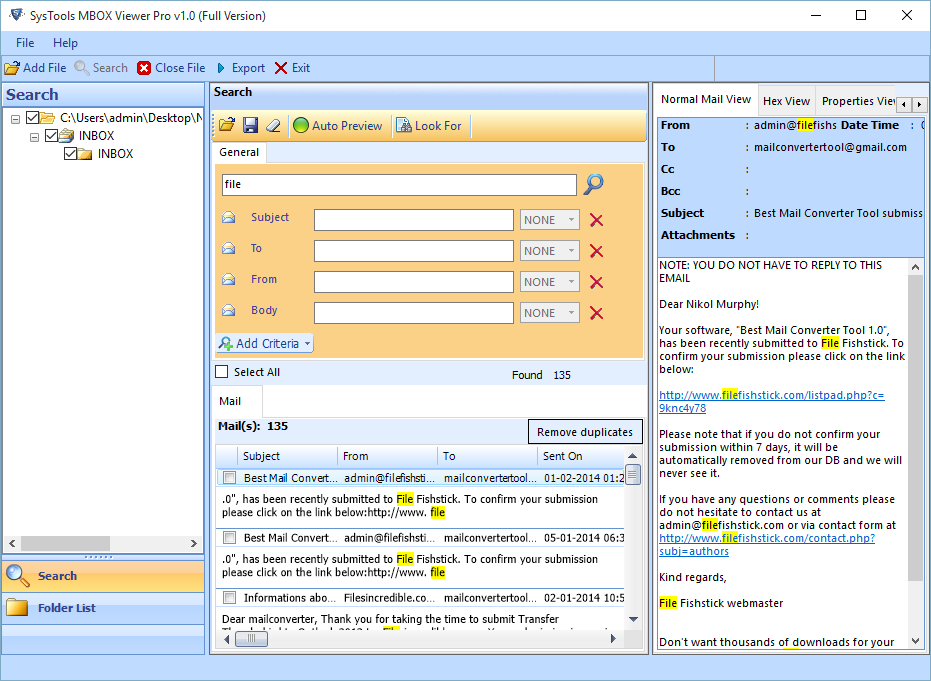
Click the Search button to find a specific email within single or multiple MBOX files using various parameters such as Message Subject, To, From, Body etc.
Step 10
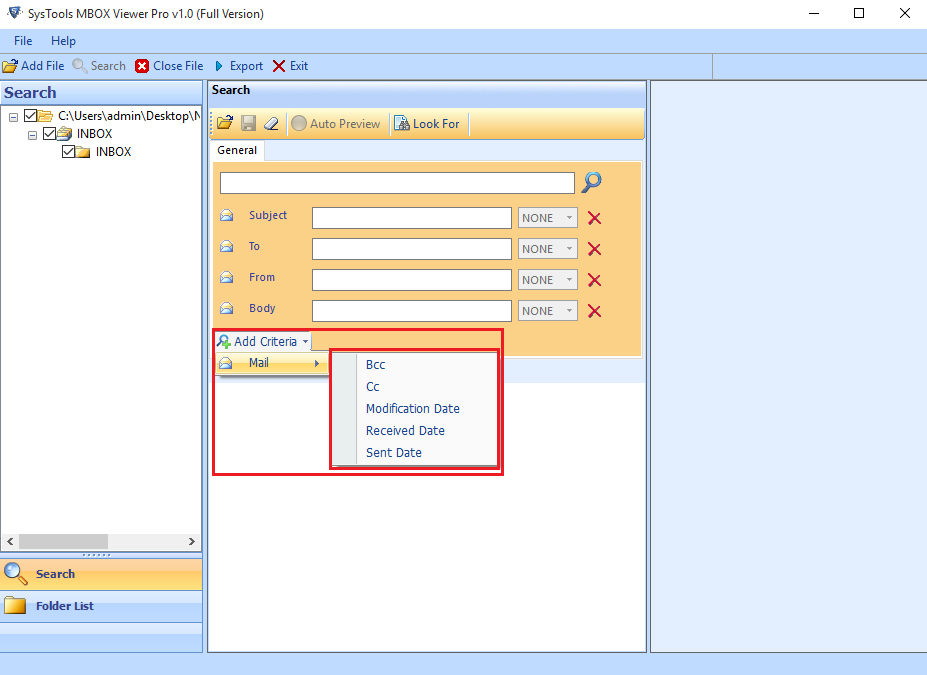
You can add multiple filter criteria’s to enhance your search query to find a particular email.
Step 11
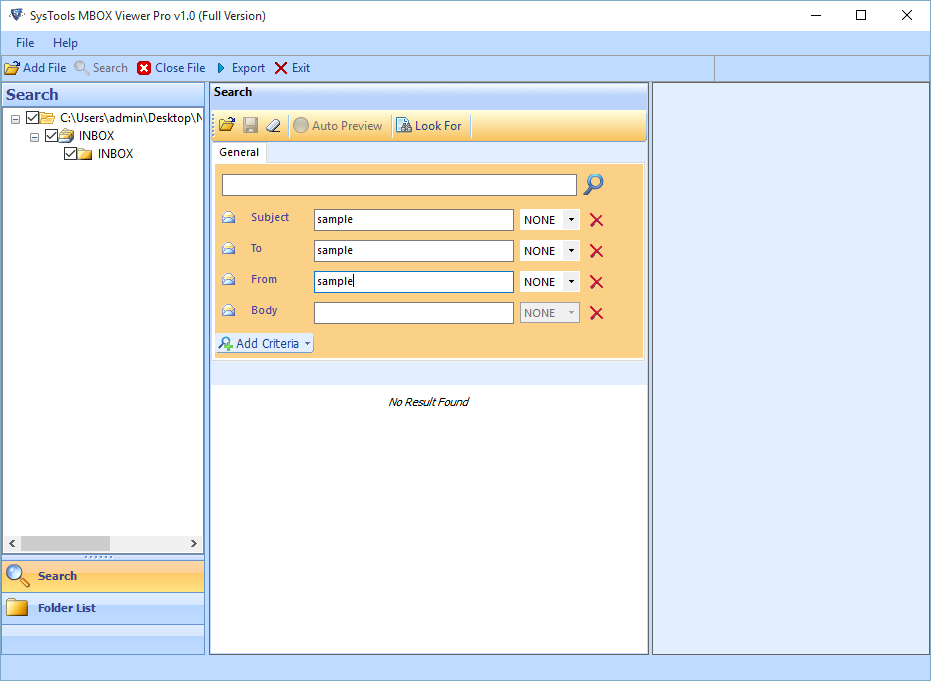
Use Advanced logical operators to your search query i.e. AND , OR & NONE :
Step 12
You can view the highlighted email message after obtaining the result from your query of the Mails Containing Exact Filtered Data Match appearing first with the highlighted data.
Step 13
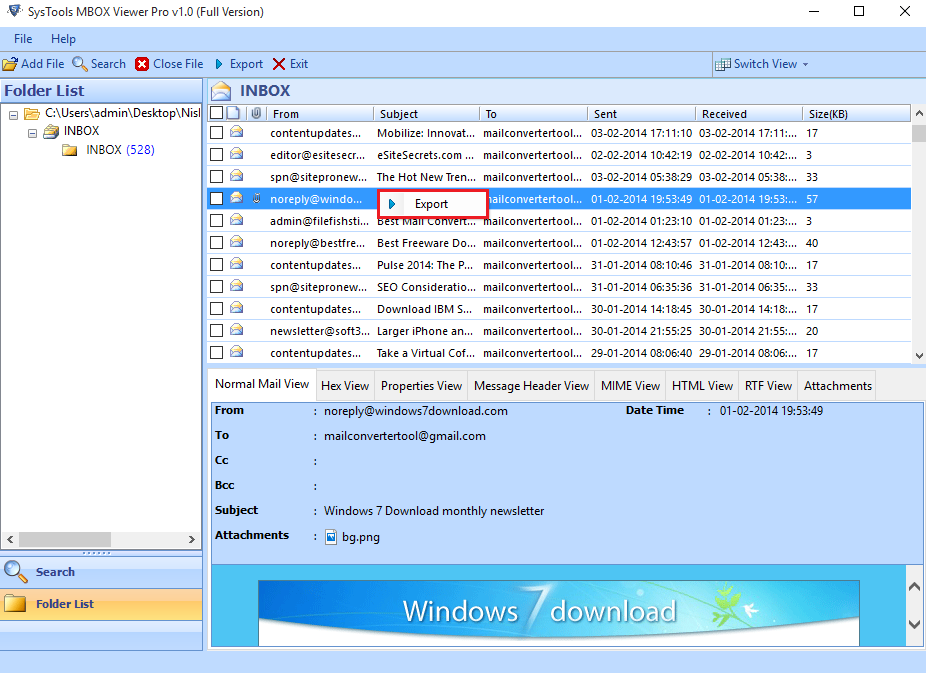
The software allows you to export search results into Adobe PDF file format. Select the emails from the search results, right click on them and then select the Export option.
Step 14
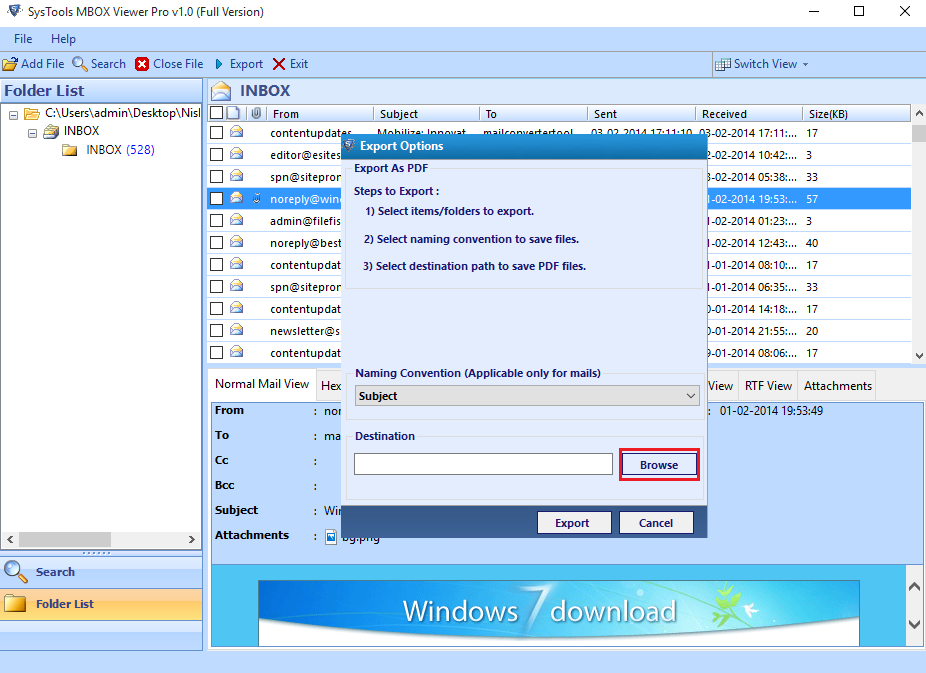
An Export Option window pops up as soon as you select mails and click on the export option.Choose the destination path where the output files will be stored by clicking on the Browse button. You can also apply specific Naming Conventions for the output file.
Step 15
Now Click on the Export button to initialize the process of MBOX to PDF File Conversion

Step 16
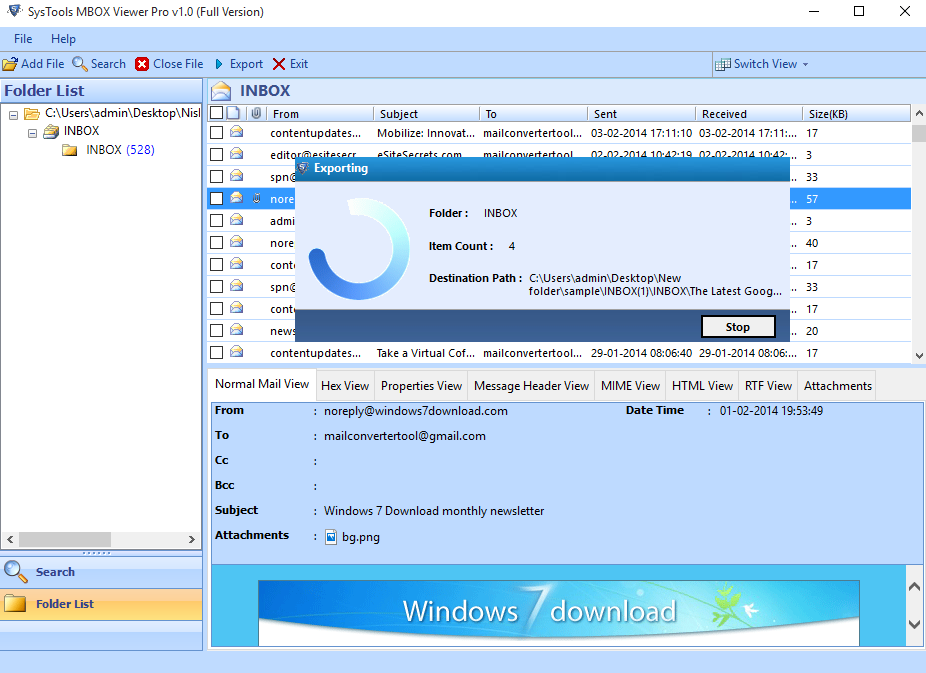
A Window pops up displaying the Export process in progress with folder, item count and destination path details.
Step 17
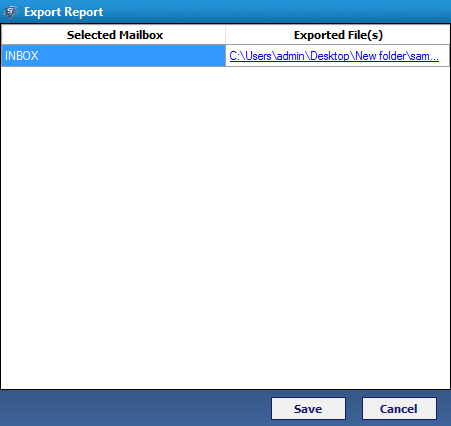
As soon as the conversion process completes,an export report is created simultaneously which you can save in your local machine by clicking on theSave button.
Step 18
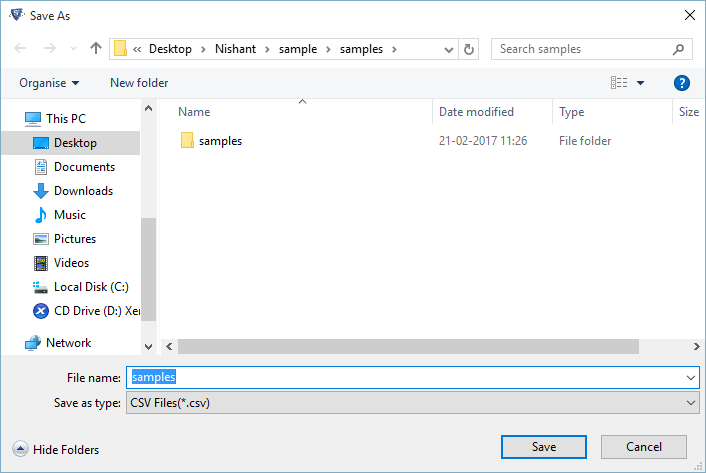
Save the CSV report at a desired location by clicking on the Save option.
Step 19
To Export Bulk folders, click on the Export option located on the top menu bar and follow rest of the process respectively.
Step 20
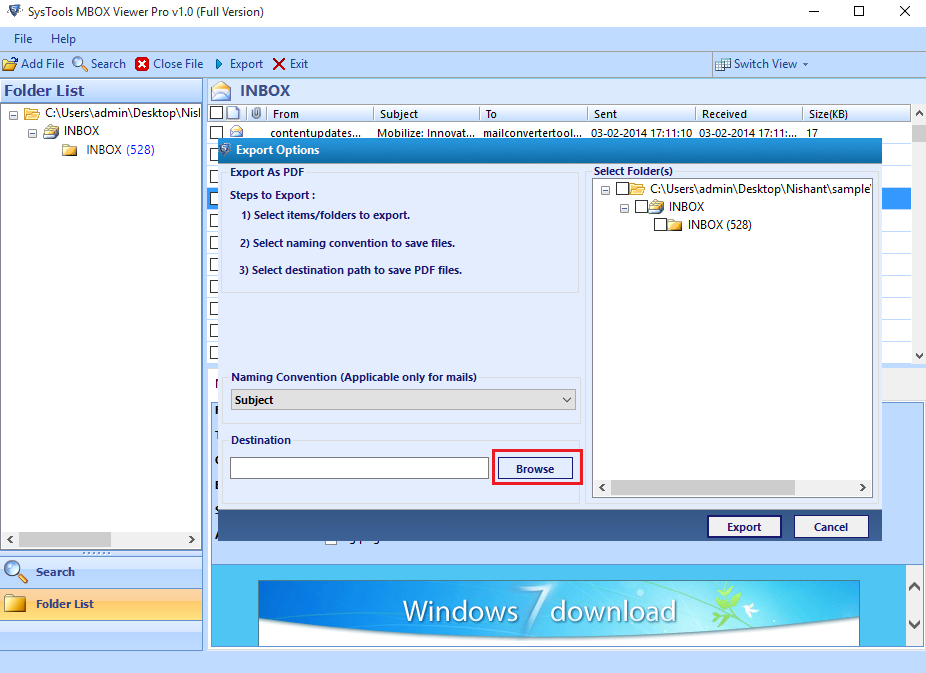
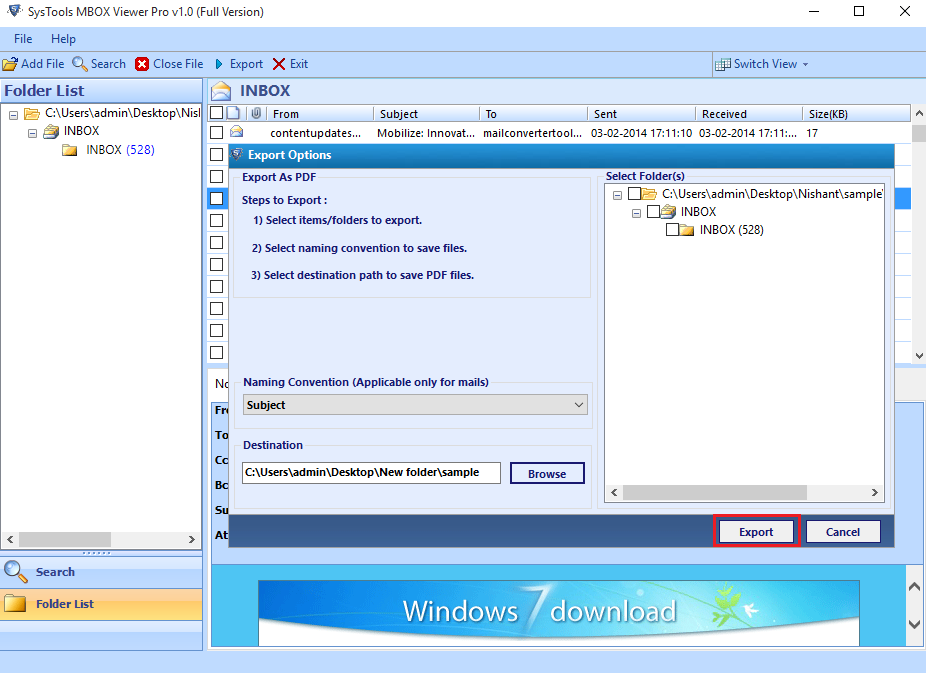
Select the MBOX folder which you want to export in the Select Folders Pane.
Click on the Browse button to select the destination location for saving PDF file.
Step 21
Click "Export" button to initiate the process:.
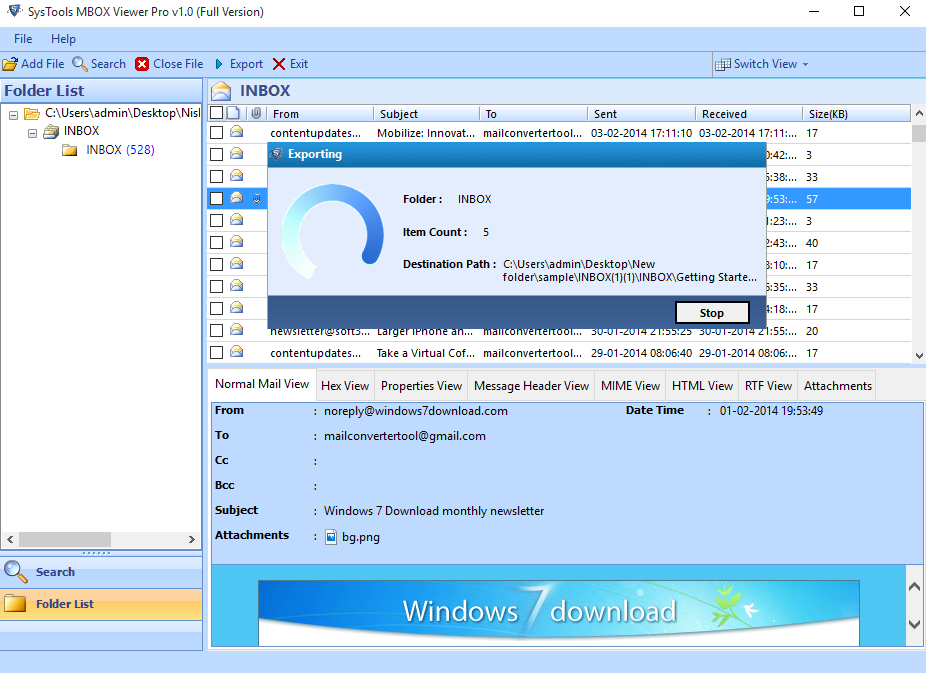
Step 22
After clicking on Export button software will show the progress of exporting all folders.
Step 23
Upon completion of the Export process, an export report gets created. Save the report in CSV file type format if required.

Step 24
On receiving the prompt “Export Report saved successfully at given path”, click OK to proceed further.

Step 25
Go to the location where you have saved the PDF file on your machine.
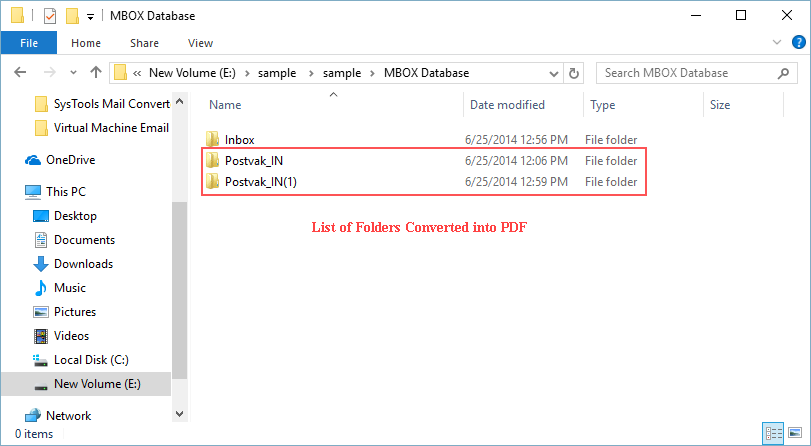
Step 26
You can observe that the emails got saved in a PDF file type and the name of the emails are saved by subject of email as the default naming convention is "Subject" as mentioned earlier.
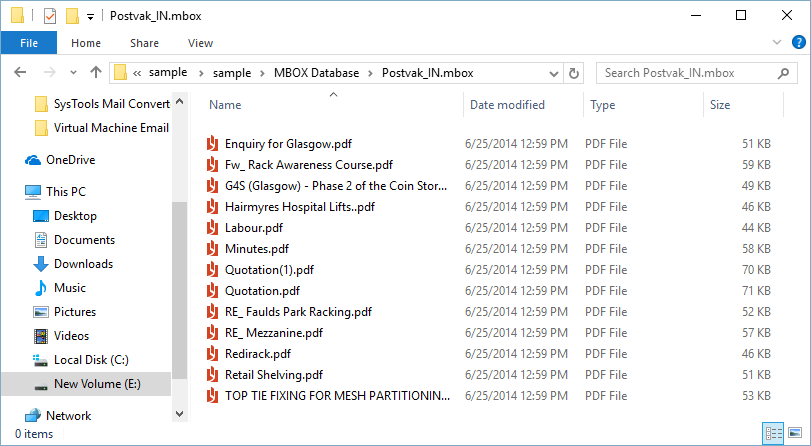
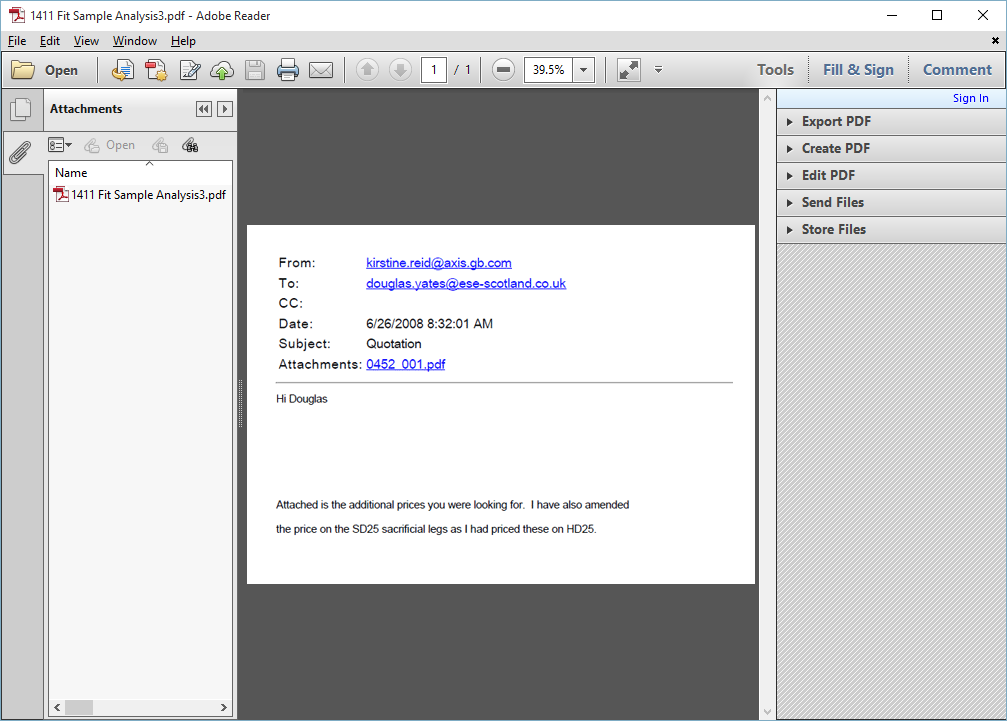
Step 27
Open and Preview the PDF files with Adobe Acrobat Reader.
Step 28
After clicking on Export button software will show the progress of exporting all folders.